Welcome to HugoNest! This guide will walk you through copying your public key from HugoNest and setting it up as a deploy key in your GitHub repository.
Step 1: Log in to GitHub
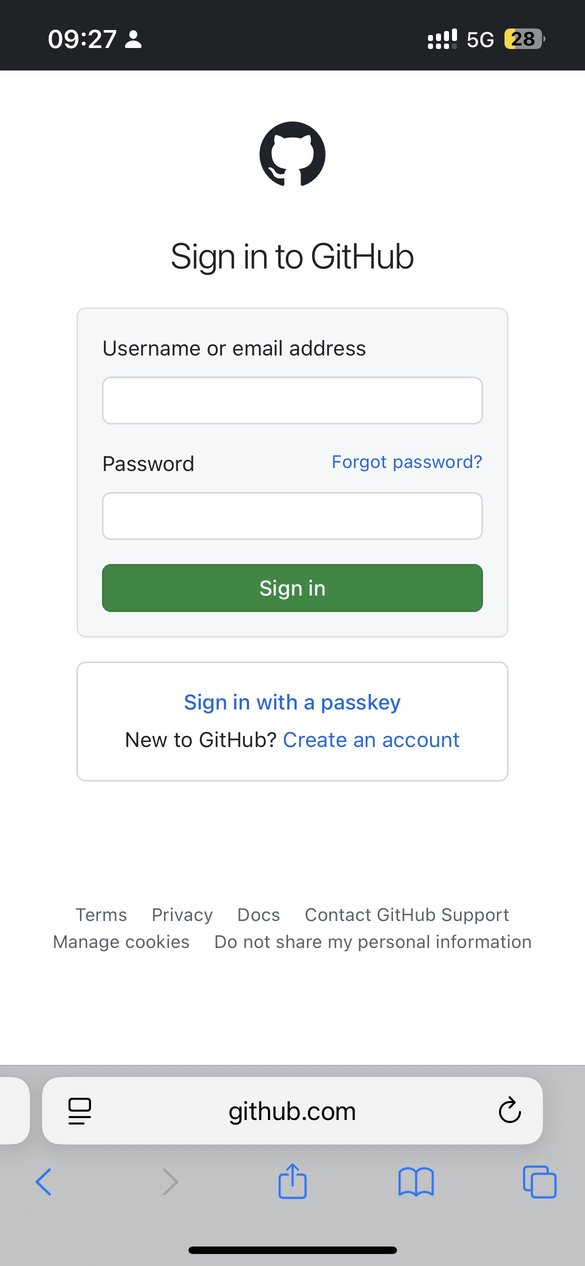
- Open your web browser and navigate to github.com
- Log in to your GitHub account
Step 2: Navigate to Your Blog Repository
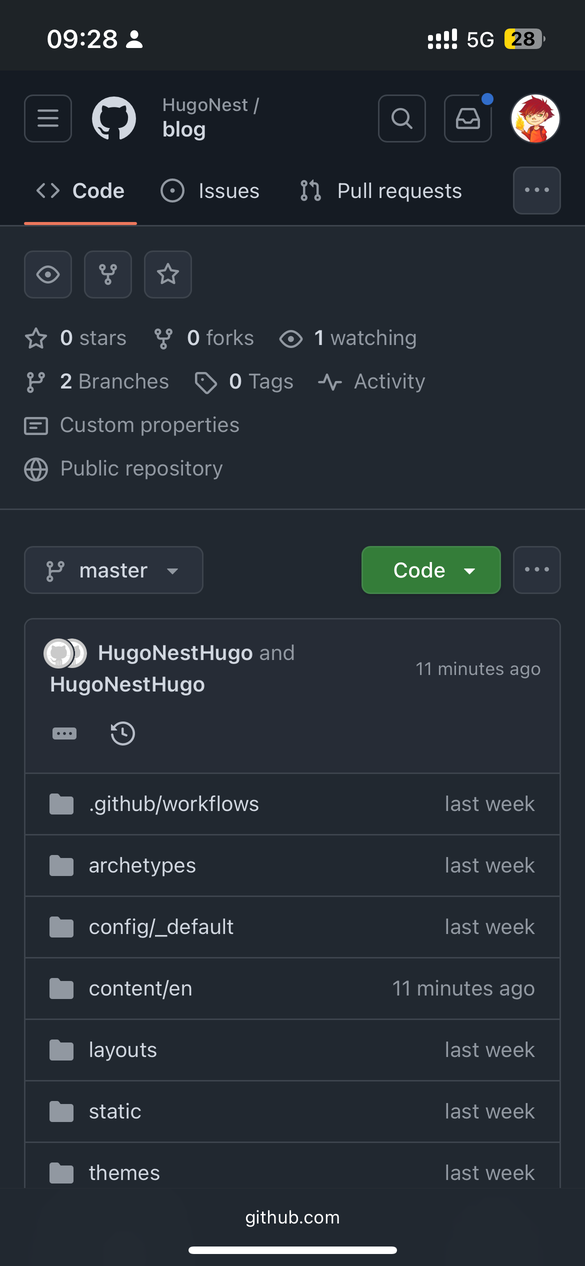
- From your GitHub dashboard, find your blog repository
- Click on the repository name to open it
Step 3: Access Repository Settings
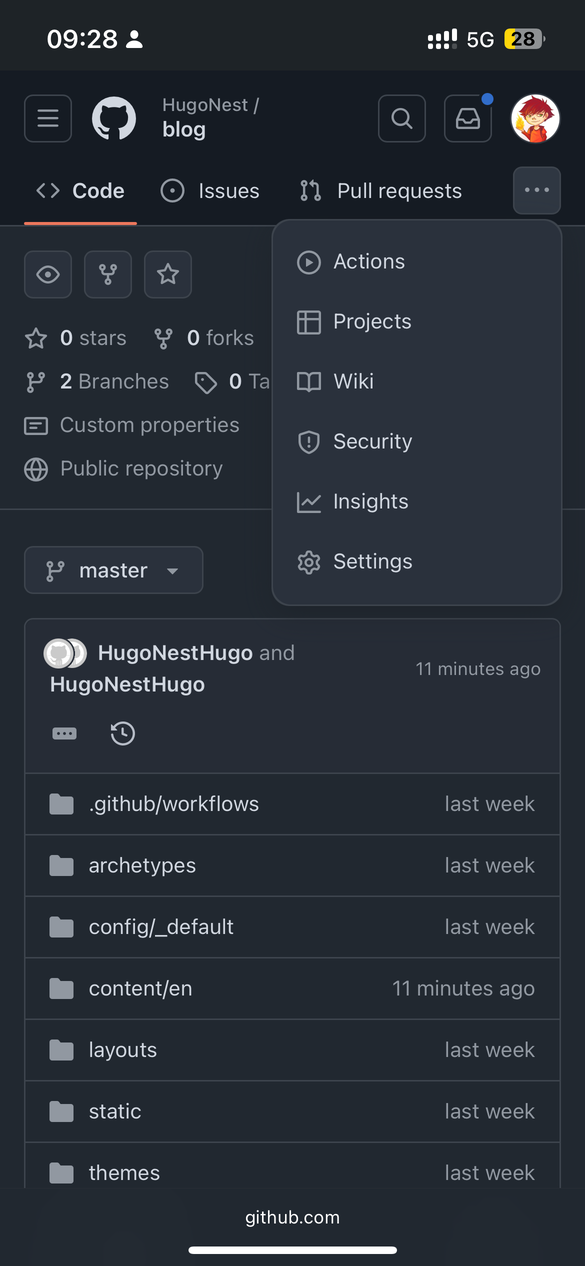
- Click the “Settings” tab in the top navigation bar
- This will open the repository configuration page
Step 4: Go to Deploy Keys
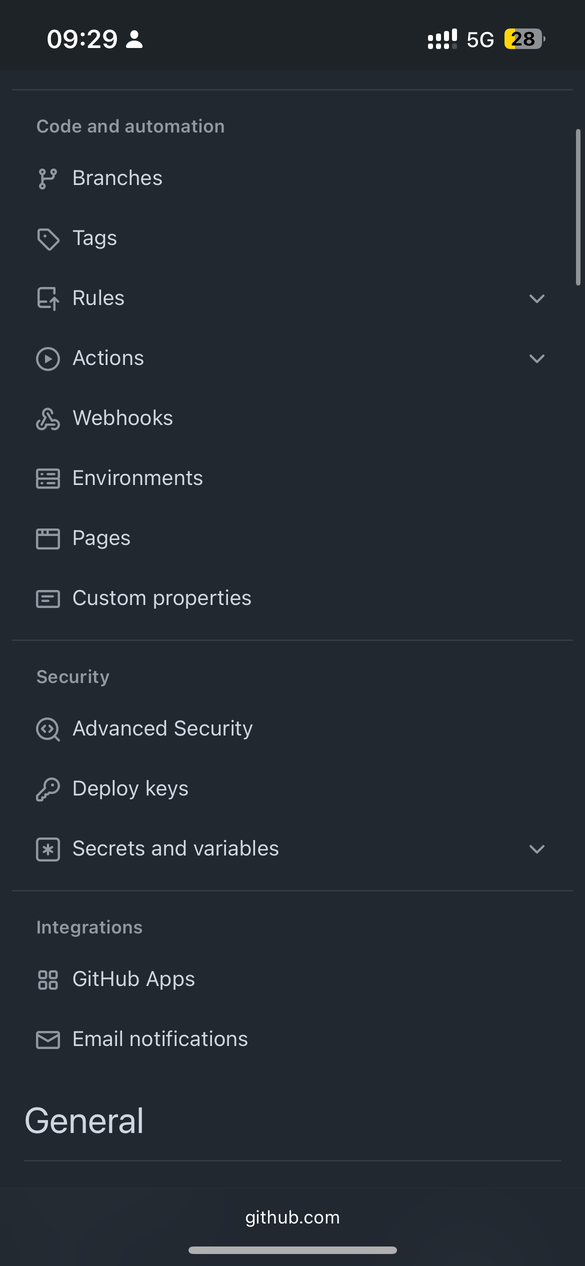
- In the left sidebar, scroll down to find “Deploy keys”
- Click “Deploy keys” to manage your repository keys
Step 5: Open HugoNest Settings
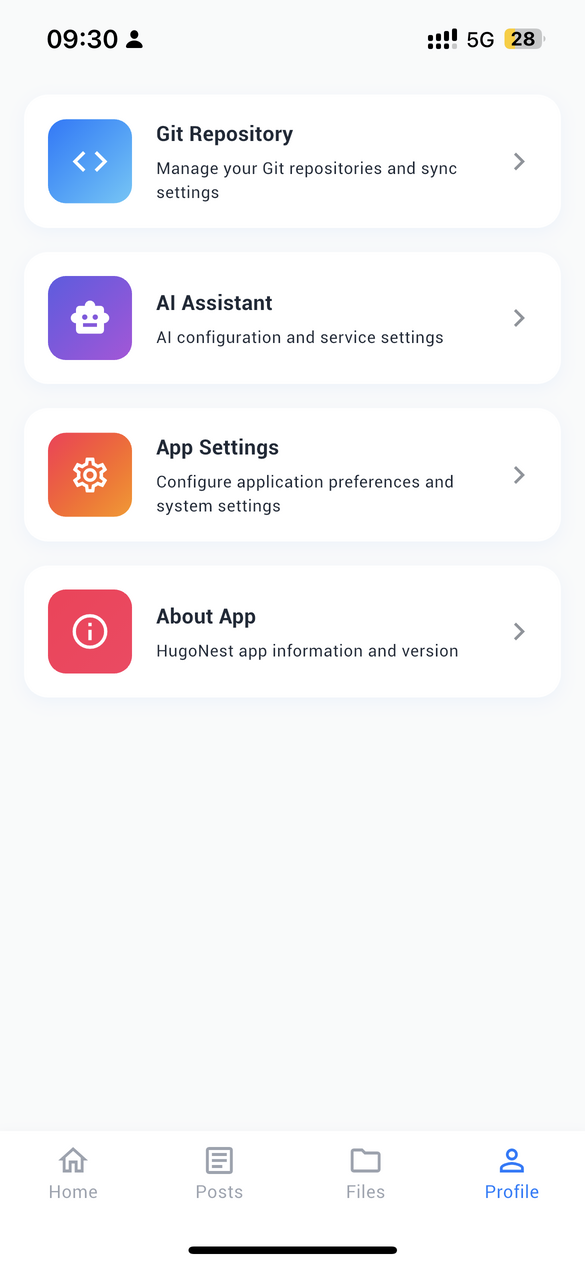
- Switch to your HugoNest app
- Navigate to the Settings page
Step 6: Copy Your Public Key
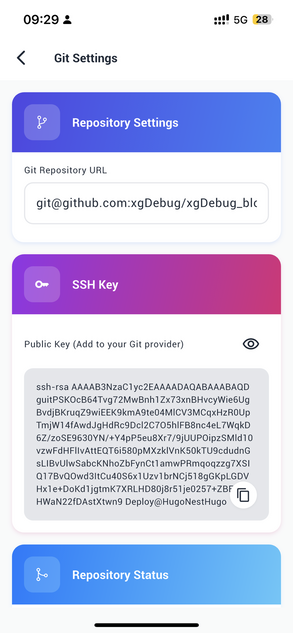
- Locate the public key section
- Click the “Copy” button to copy your public key to clipboard
Step 7: Add the Deploy Key to GitHub
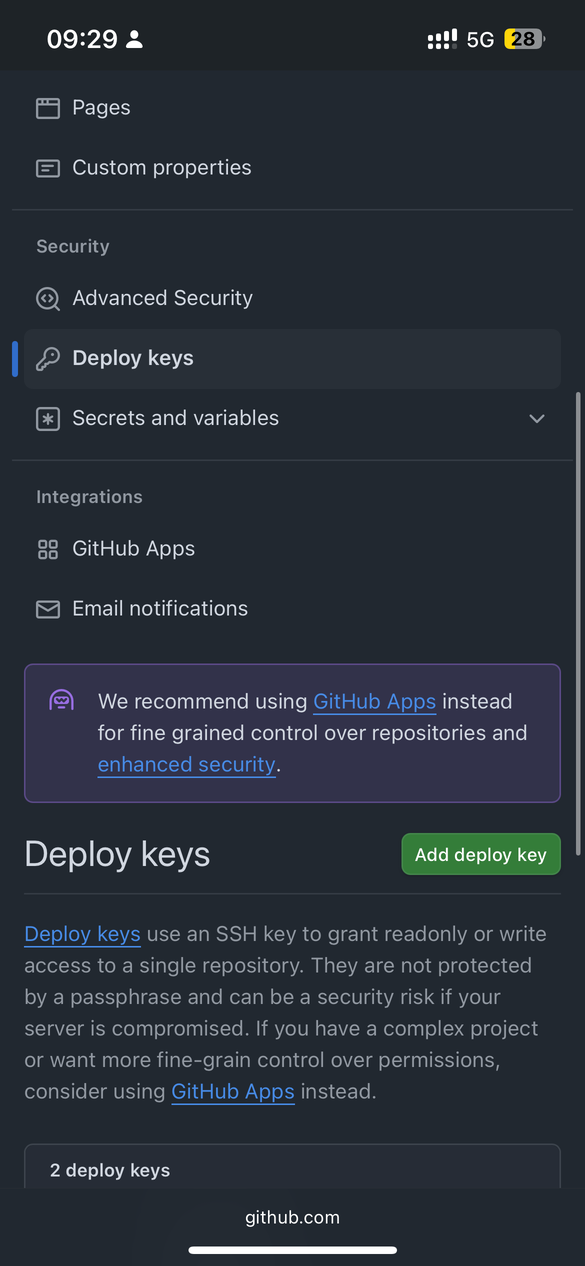
- Back in GitHub, click “Add deploy key” button
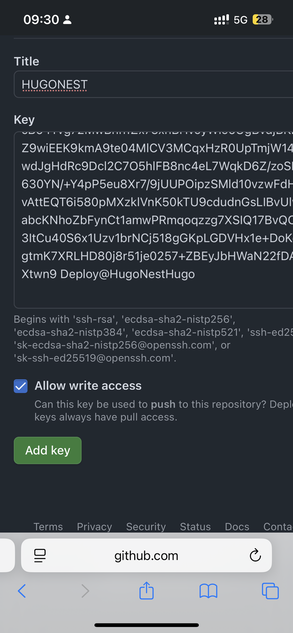 2. In the form:
- Title: Name your key (e.g., “HugoNest Key”)
- Key: Paste the public key from HugoNest
- IMPORTANT: Check “Allow write access” (required for HugoNest to function)
- Click “Add key” to save
Step 8: Complete Setup
- Return to HugoNest
- Click the “Sync” button to test the connection
All Done!
You’ve successfully connected HugoNest to your GitHub repository! Your app can now deploy updates to your blog.
Troubleshooting Tips:
- Verify the public key was copied correctly
- Confirm “Allow write access” is enabled
- If issues persist, try removing and re-adding the deploy key
Happy blogging with HugoNest!